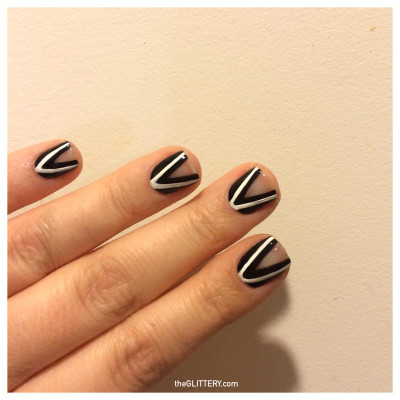
I haven’t worn a Halloween costume since I was a tween but I am not a complete Halloween Grinch. My 9-year old daughter is obsessed with the holiday, so my job is to joyfully do her bidding in our annual creative costume collab. The other way I celebrate (besides stealing her candy) is with a festive Halloween mani. Here are a few of my DIY faves.
Tattoos & Stickers
Nail tattoos are an easy way to create the perfect nail design. I like to start with a long-wearing polish – this year’s Halloween favorite is the no-cure gel from Boots No. 7 in Orange Spice ($6.74 at Drugstore). Allow the color to dry and get to decorating!
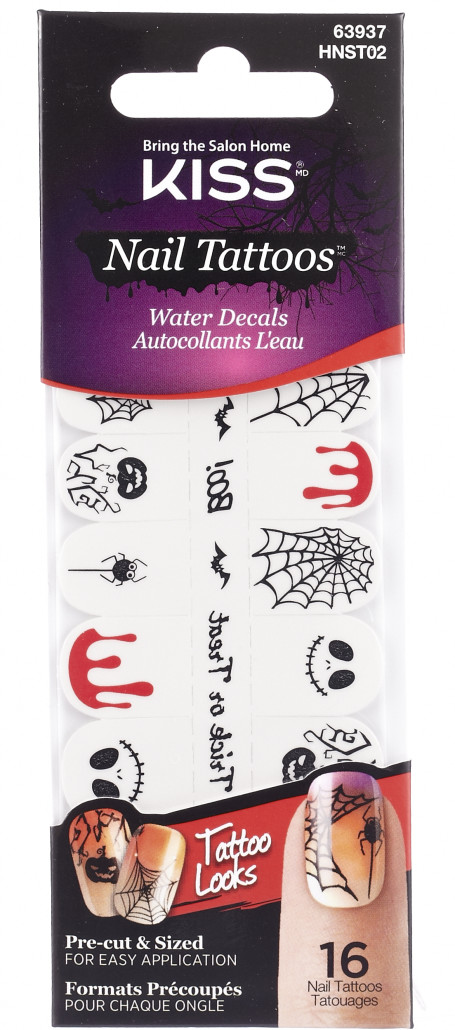
The Halloween Ghoulish Nail Tattoos ($2.99 at Bejour) from Kiss Nails work just like regular temporary tats and comes with all the dripping blood, spiders and spider webs that you’ll need for the creepiest nails ever. Top with the Boots No. 7 Gel Top Coat ($6.74 at Drugstore).
Nail Wraps
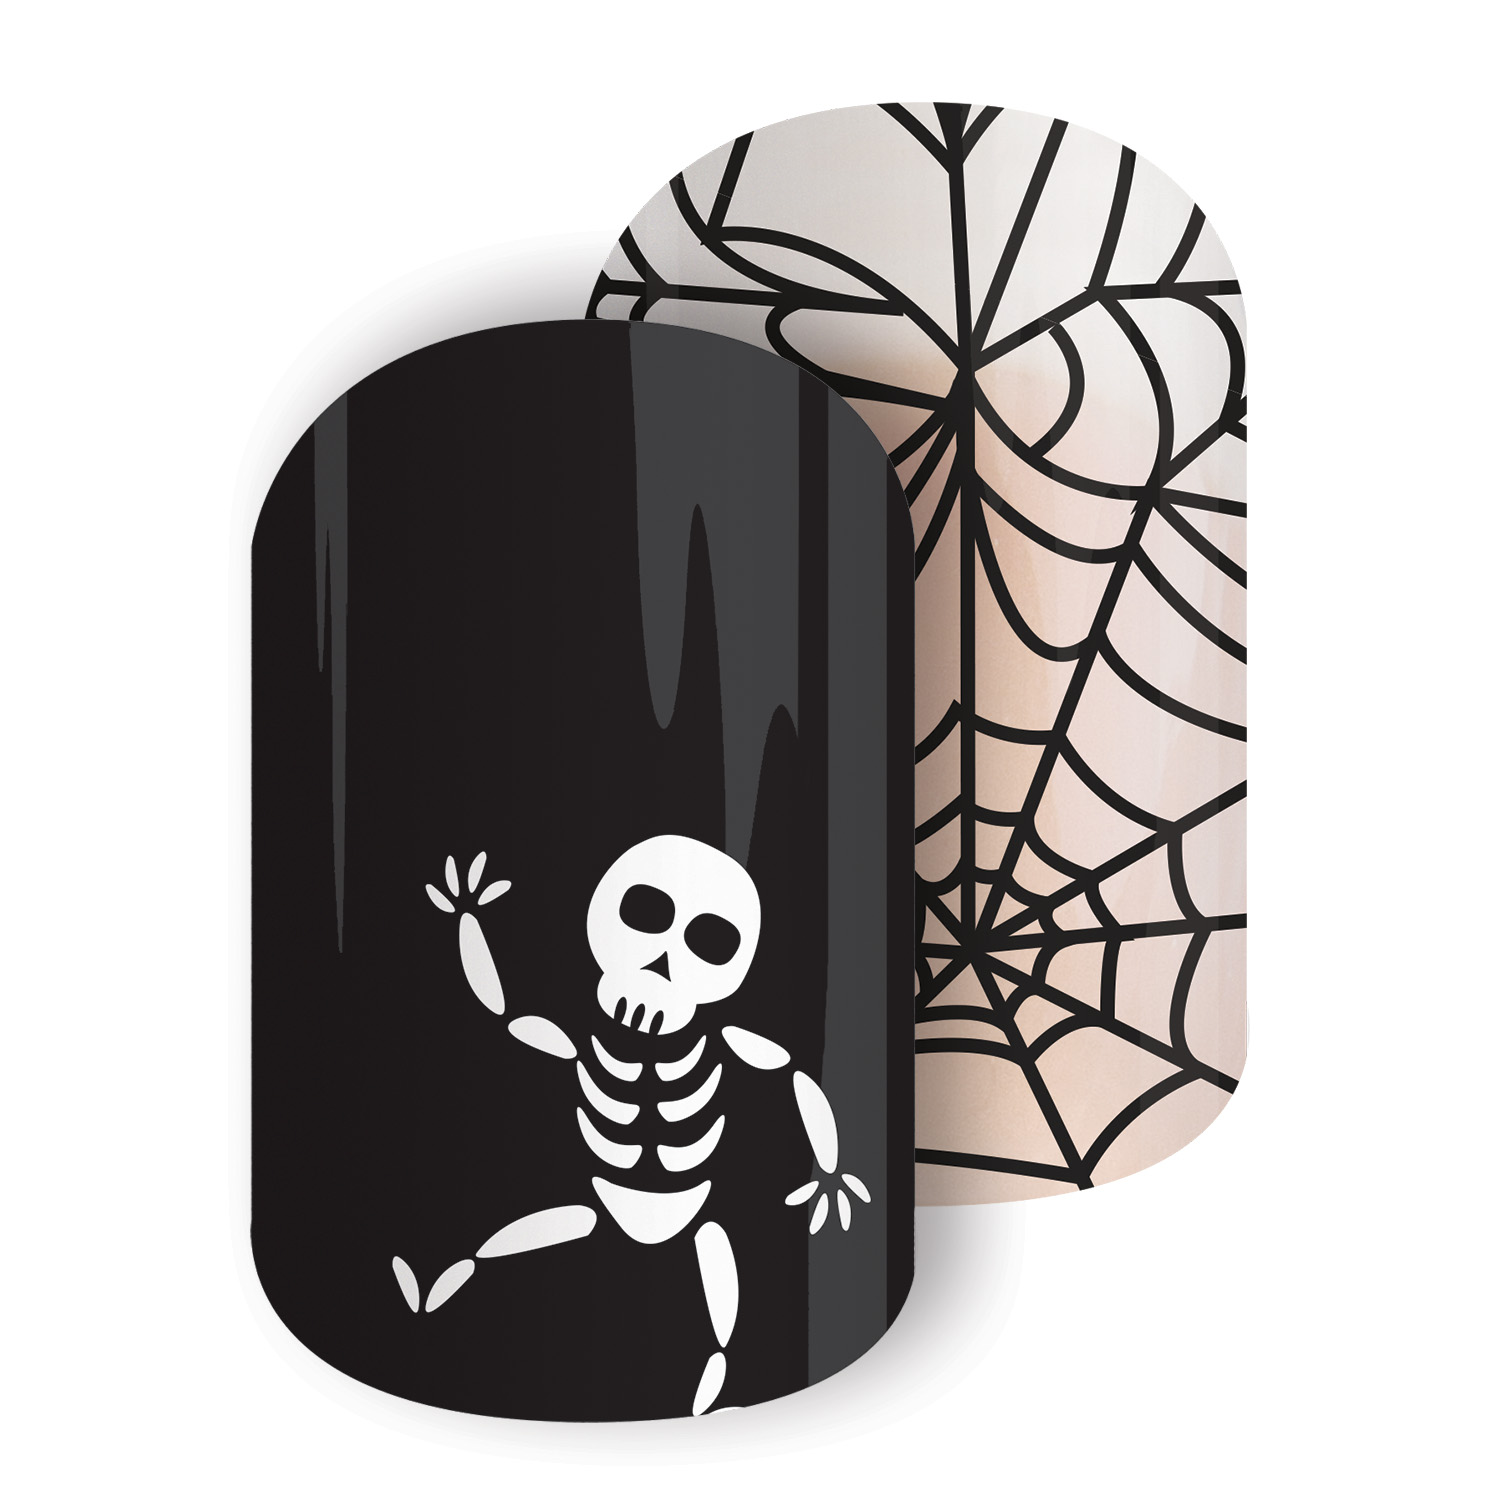
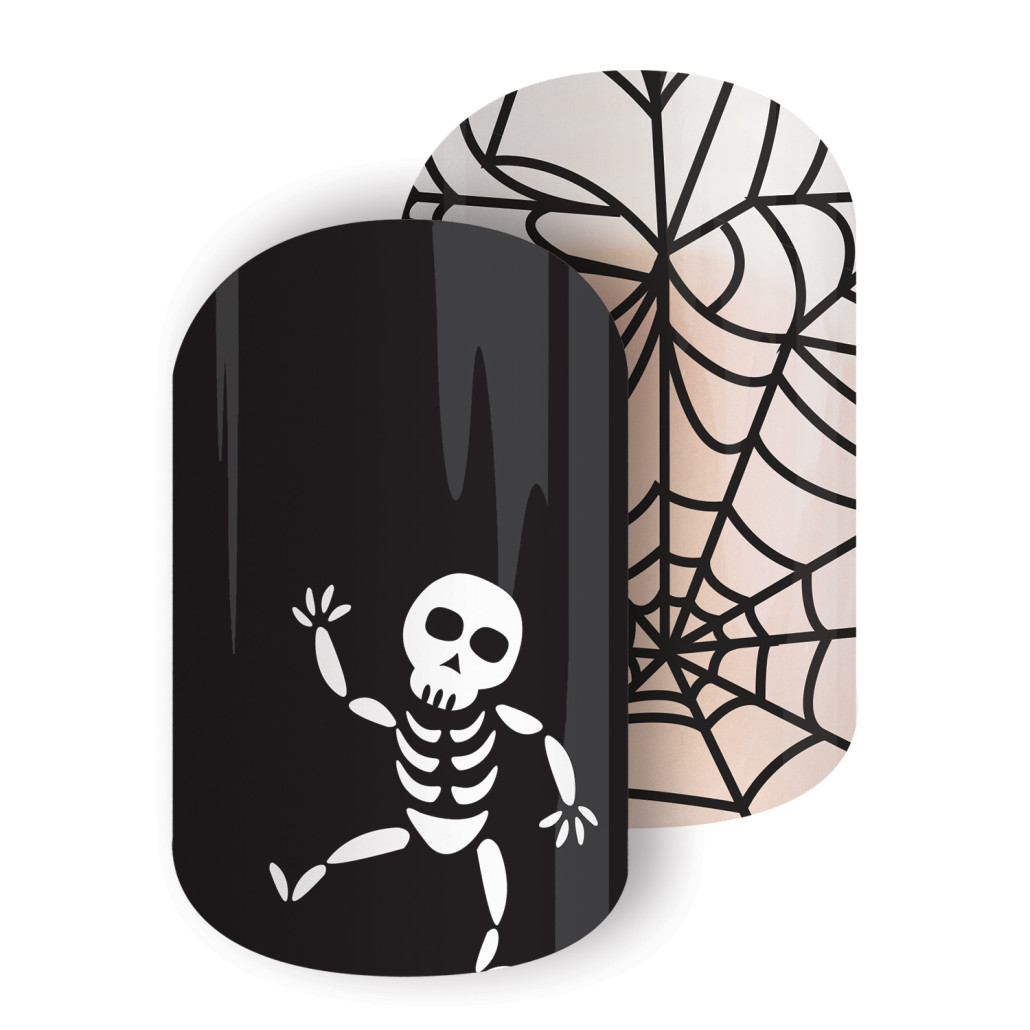
If you prefer fewer steps and a perfectly placed design, wrap your nails! Jamberry ($15 at Jamberry) has a fabulous selection of creepy scenes. Applying nail wraps take a little getting used to but once you figure it out, they are a great one-step option.
3 Express Yourself
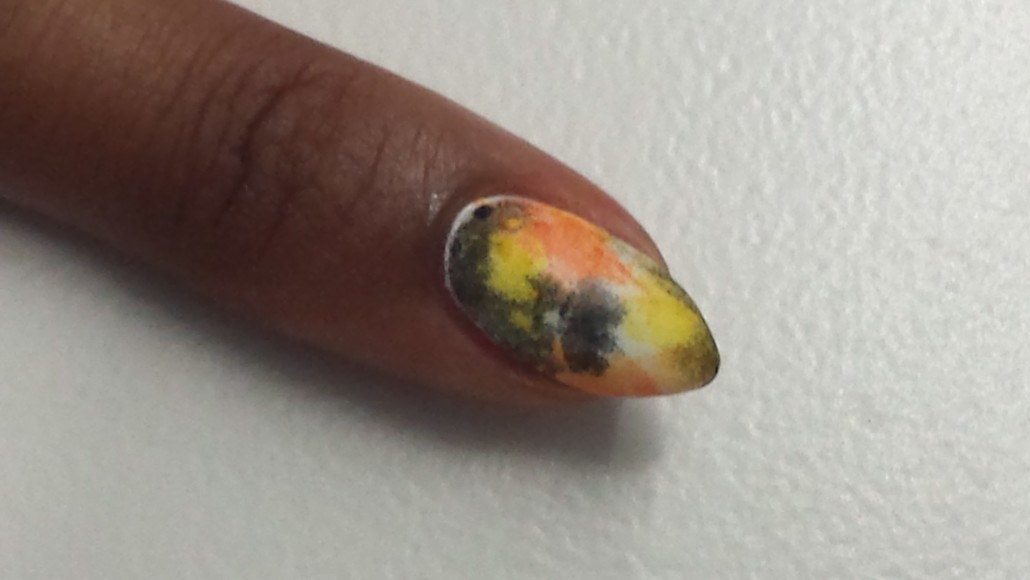
Feeling creative? I sat with Styleseat stylist, Mimi Wilson, for a Halloween how-to. She called her first design, “Grown Up Candy Cornâ€.
Here’s her step-by-step:
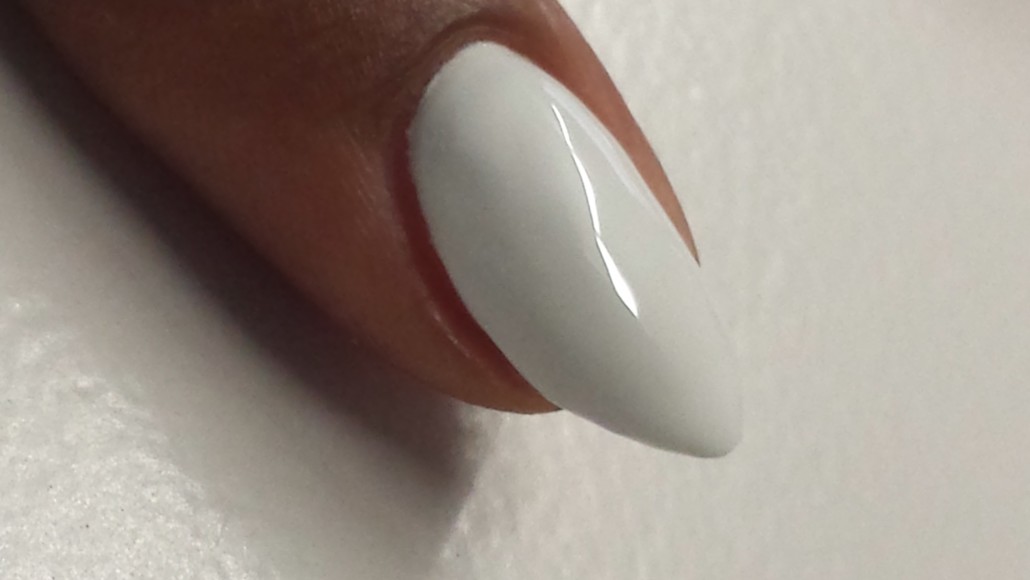
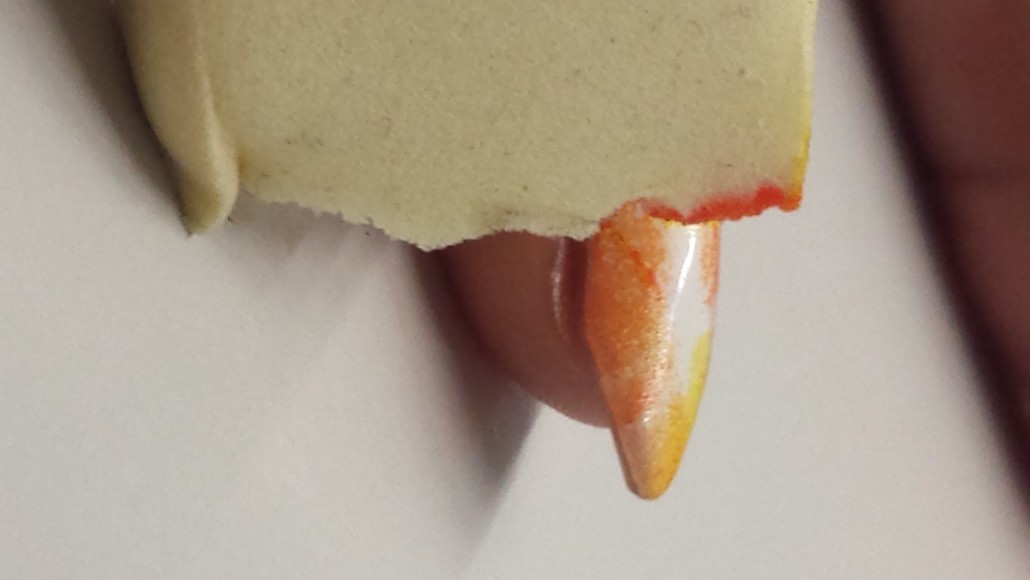
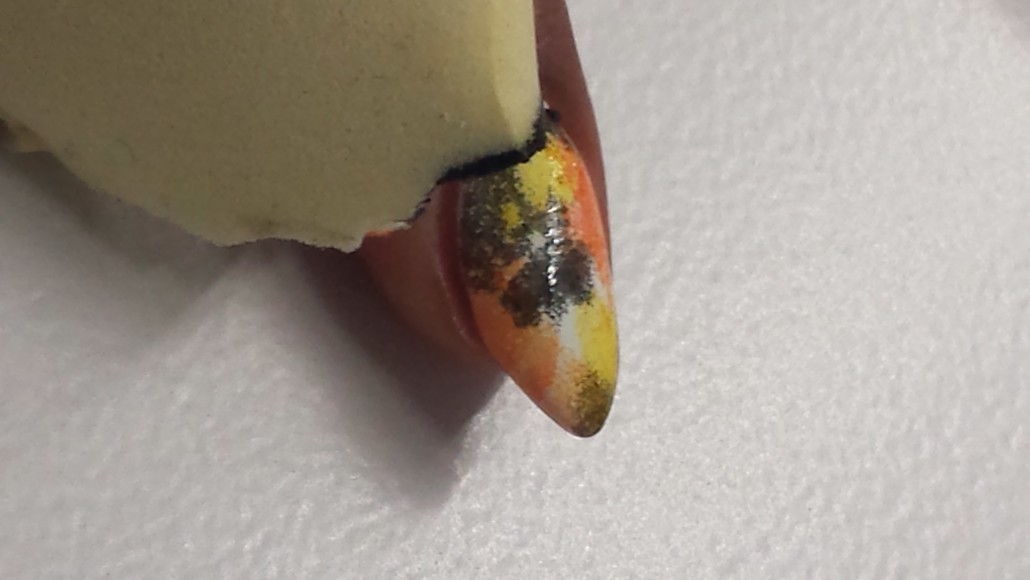
- Finale!
Products used: Essie colors and Essie Matte About You ($8.49 at Target)
Mimi also demo’d her spider web design, using black polish and So Easy Stripe Rite ($3.99 at Sally Beauty). Because this takes a really steady hand, I would paint all the nails black and do one spider web per hand. Per Mimi, the new accent finger is the index – the ring finger is out.
FYI, if you are not familiar, Styleseat is a beauty and wellness service concierge. You can order up anything from manicures to acupuncture and arrange a home or salon visit in 15,000 cities.

