I haven’t been this excited about a manicure since, well, last week (don’t judge me). I absolutely love how my Nail Rock Foil Manicure turned out. My love and excitement grew even more when I got unsolicited compliments from strangers. Anyhow, now that I have built this up like that time Obama said “you can keep your doctor,” let’s get to!
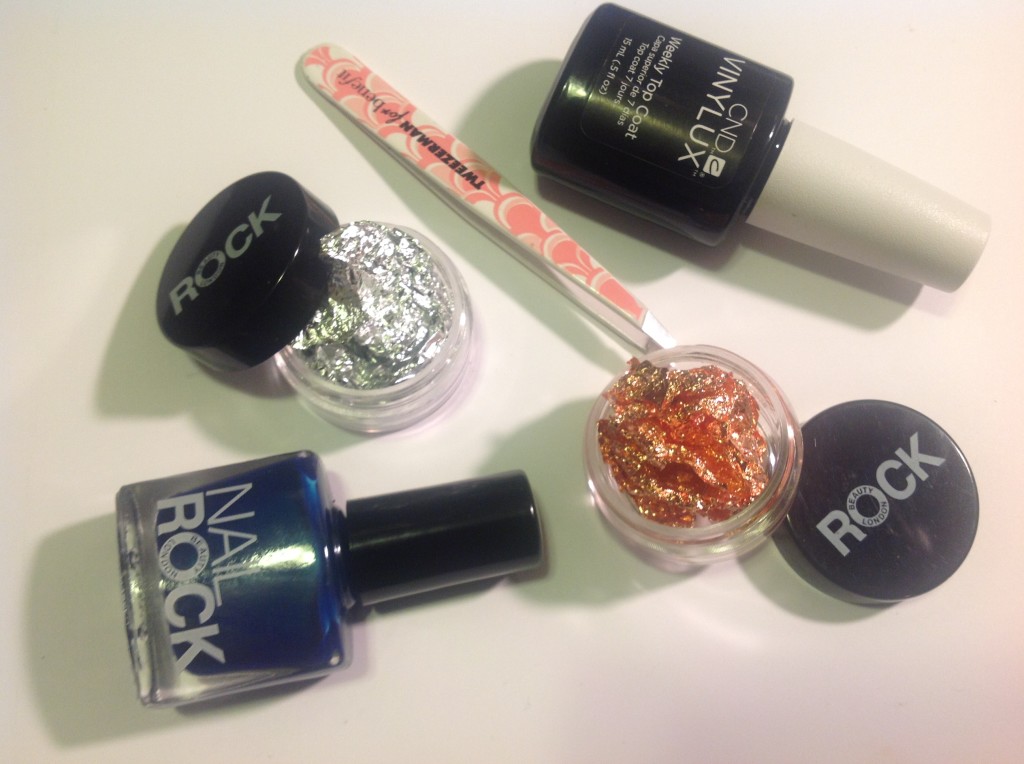
Here’s What You Need:
- Apply two coats of polish to each nail. I used the blue polish from the silver kit.
- As soon as you are finished with the application, use tweezers to rip pieces of the foil and gentle place on nails.
- Use bare fingers to gently press foil onto polish.
- If you like the look of just the foil, apply the topcoat and you are done (shown below).
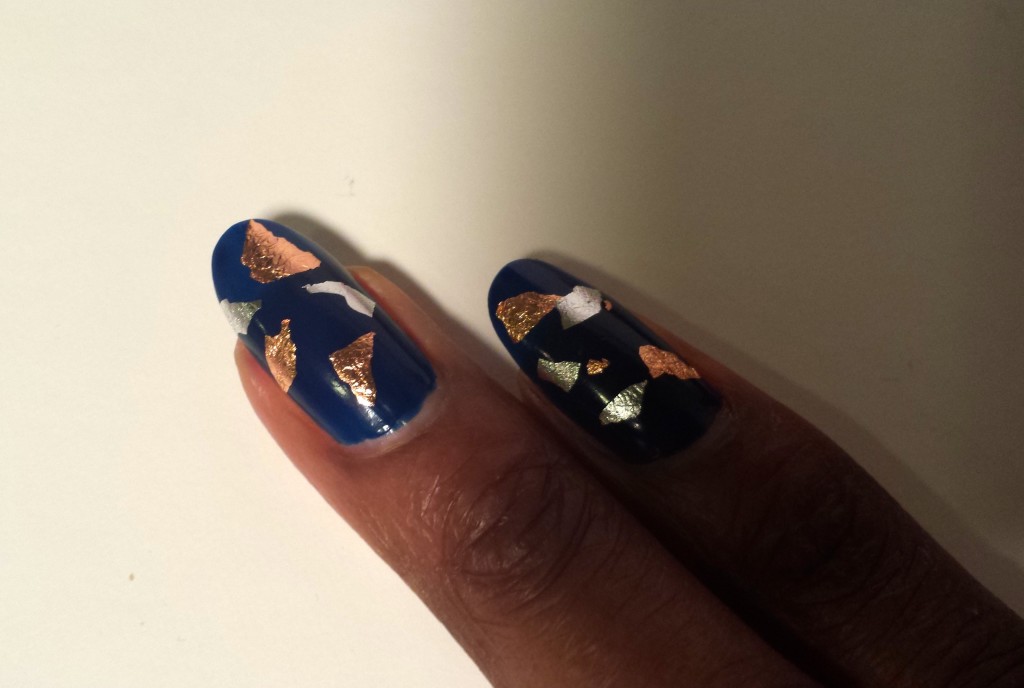
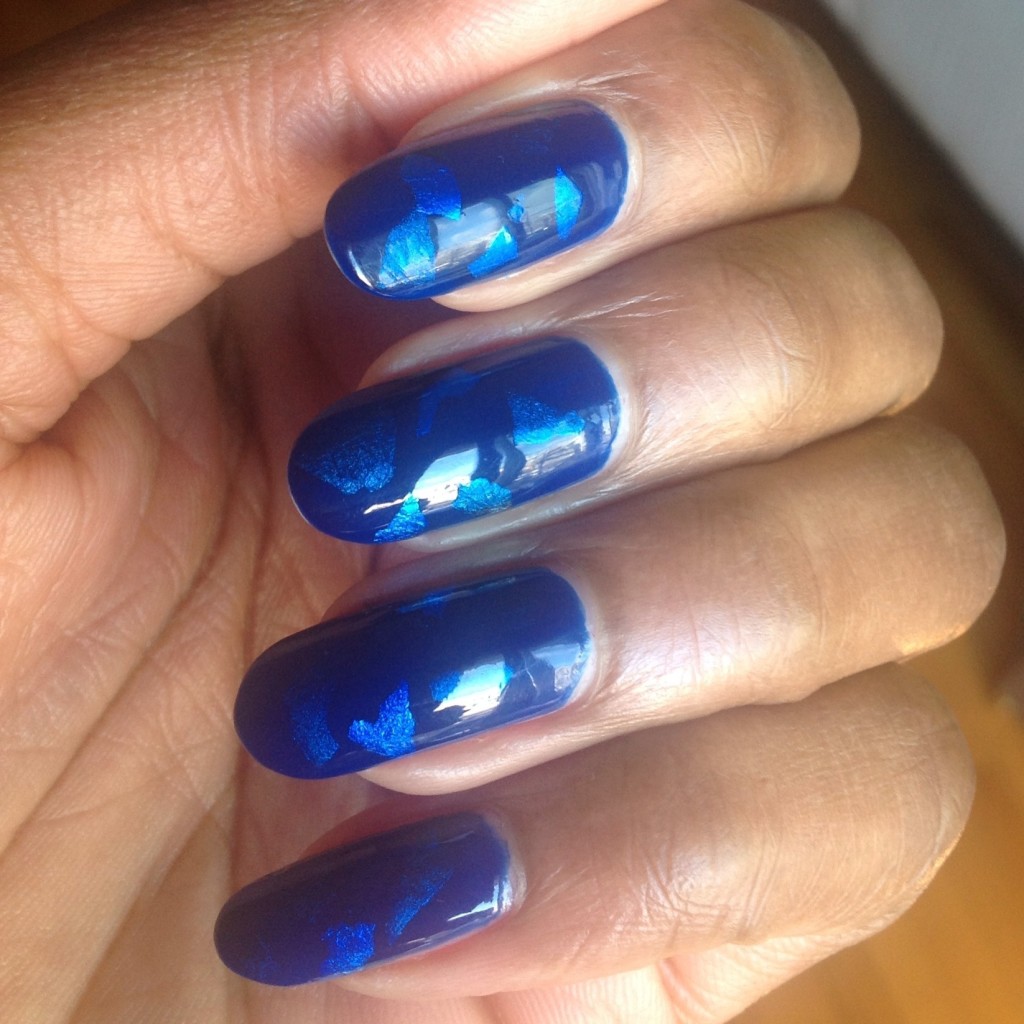
- If you want the effect of foil floating in your polish, apply two very light coats of the blue polish over the foil.
- Apply top coat to boost shine and extend polish and you are done!
Did I already say how much I love this manicure? This manicure looks complicated but it is super easy to do. It’s really shiny and lasted about 7 days. The Nail Foil is my favorite of all the Nail Rock kits I have tried so far because it is easy to use and also rather unique. If you want to add a little umph to your manicures, I highly recommend the Nail Rock Nail Foil kit.
Nail Rock Foil Manicure kits retail for $8.00. Available at Walmart & Walgreens and online at Urbanoutfitters.com
—
Find Christene, @ChristeneCarr, on Twitter, Instagram, Tumblr, Pinterest and her blog



Rocking mani. love it