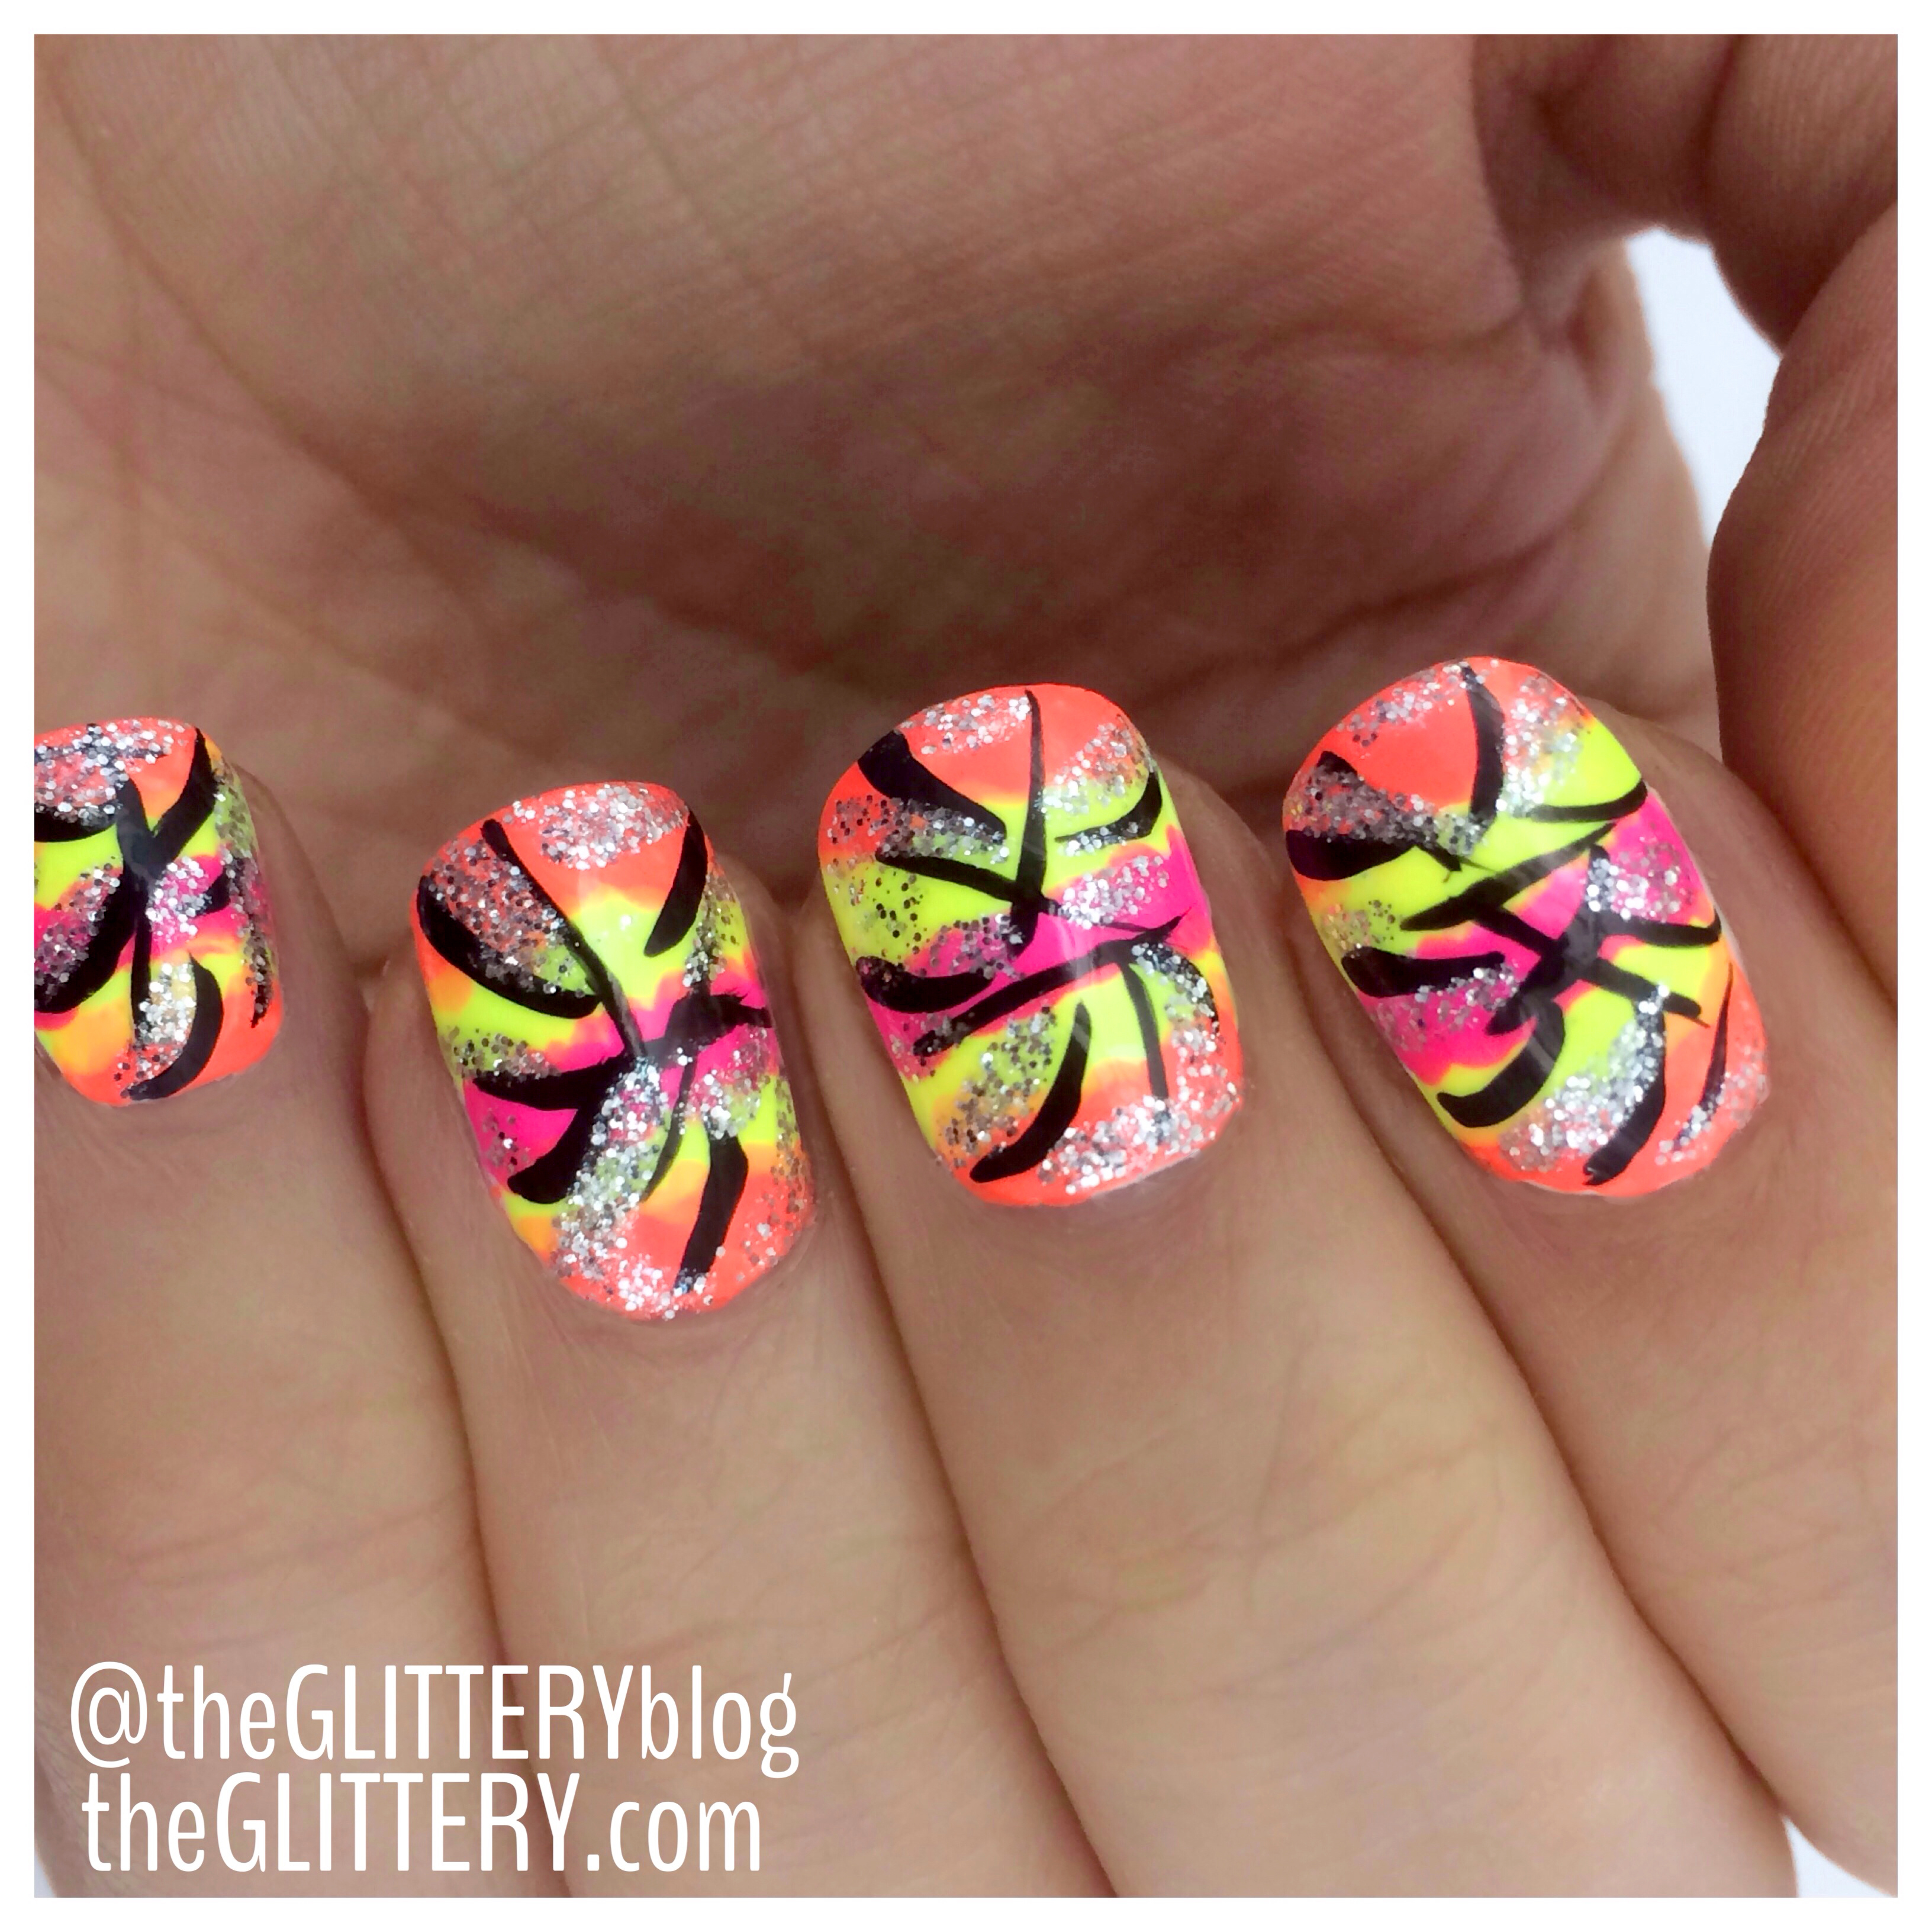
They say April showers bring May flowers. Well, whoever “they” are, don’t give the month of April enough credit. April has way more to offer than the need to plan our outfits around your Hunter boots—it brings COACHELLA. Not only is Coachella one of the most famous music festivals in the country, it has to be one of the biggest gatherings of neon, flower crowns and crop tops in the universe. Seriously. Girls go nuts hunting the racks of Forever21, Urban Outfitters and American Apparel looking for the perfect outfits to spend three (sometimes un-showered) days in. And while a pair of “wear them with anything” cut-off jean shorts at 60% off could totally make your trip, nothing says you’re Coachella ready like a great mani (at least in my world). To finalize your Coachella look, all you have to do is follow my quick and easy nail art tutorial below.
Supplies for Coachella Nail Art Tutorial:
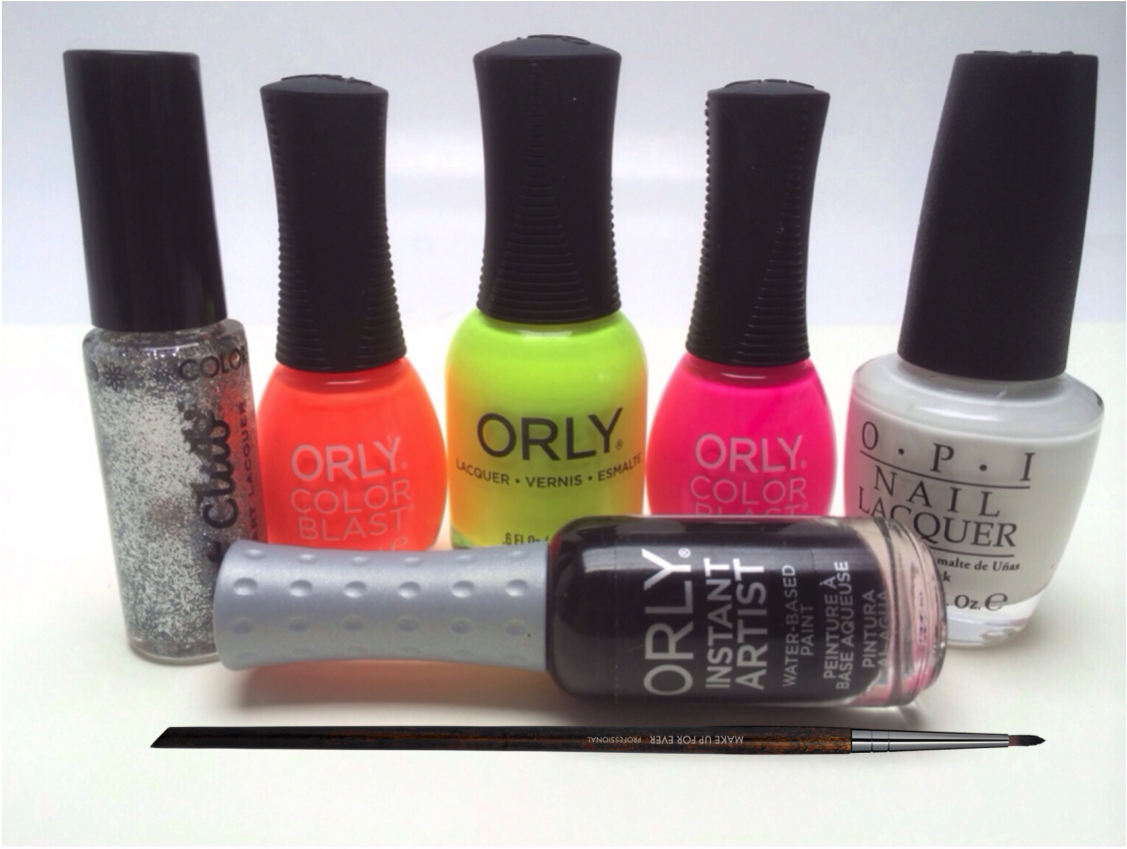
- OPI, Alpine Snow
- Orly Color Blast, Peach Pastel Neon and True Neon Pink *these are not available online yet, however can be purchased at Bed Bath and Beyond or select Harmon stores.
- Orly, Glowstick
- Orly Instant Nail Artist Striper, Black
- Color Club Striper, Silver Glitter
- OPI Nail Envy Base Coat
- Seche Vite Top Coat
- Makeup Forever 250 Extra Fine Eyeliner Brush
Tutorial:

Step 1: after applying your base coat, paint 2 thin coats of OPI Alpine Snow. This will make your neons really pop! Wait 3 minutes to dry.
Step 2: put a few drops of your Orly Peach Pastel Neon on your artist palette. I use a paper plate or piece of tinfoil- I know- fancy, fancy. Using your Makeup Forever brush (or any thin clean eyeliner brush you have laying around), dip it in the polish and pat on the top and bottom of your nail. This does not- in fact should not- be perfect. The wavier/fluid the better.
Step 3: repeat step 2 but with Orly Glowstick. Pat it right underneath/slightly overlapping your orange on both the top and bottom of your nail. Make sure you still leave some white space in the middle.
Step 4: fill in that white space with Orly True Neon Pink, again patting the polish on your nail. Feel free to do a second coat on any of the colors you feel need more punch before moving to step 5.
Step 5: after waiting 2-3 minutes for your neons to dry, take your Orly Black Striper and paint random wavy lines all over your nail.
Step 6: take your Color Club Glitter Striper and glitterize your nails. Do as much or as little as you want. I like to outline some black lines and fill in other parts of my nail that I feel need a little somethin’ somethin’.
Step 7: wait a good 5-7 minutes before sealing with your Seche Vite Top Coat. If you apply too soon, your black may bleed.
Now, you’re almost ready for Coachella. All that’s left to do is pack your cuticle oil to keep those babies moisturized through all that dancing.
Want more nails? Visit theGLITTERY.com and follow @theGLITTERYblog on Instagram.