I’m really excited to have Ari of theGLITTERY guest contribute and share her too-cool-for-school Nail Art with us. As you know, ThisThatBeauty loooves nails – I mean, we do “Mani Of The Week” every single week. So we’re especially delighted to have Ari drop Nail Art gems. Without further ado, take it away, Ari. . .
–
–
–
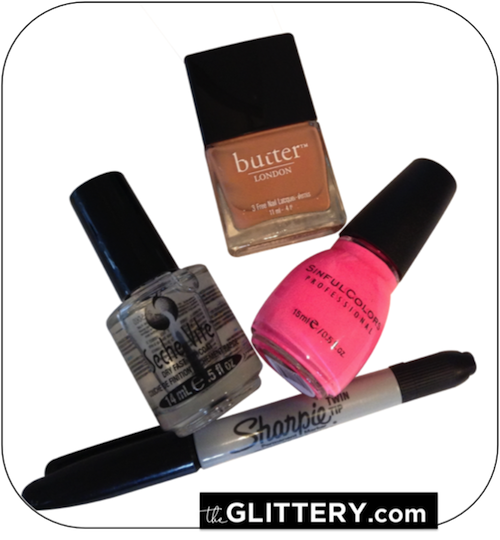
For this mani, I opted for two extremes; the beigest of beige, Butter London Tea With the Queen, and the queen of neons, Sinful Colors 24/7. The result? A full blown Opposites Fiesta. And the best part? It’s super easy and uses one of my favorite things…. A SHARPIE! That’s right ladies, Sharpies are about to be your latest nail art obsession. Not only do they come in a variety of colors (neons, classics, metallics..oh my!), they also give you more control than a nail art brush, require Z E R O dry time and don’t bleed when applying your top coat (and we all know what a buzz kill that is!) Alright, enough of the chit chat. Take a deep, deep breath, because girl, your mind is about to be blown.
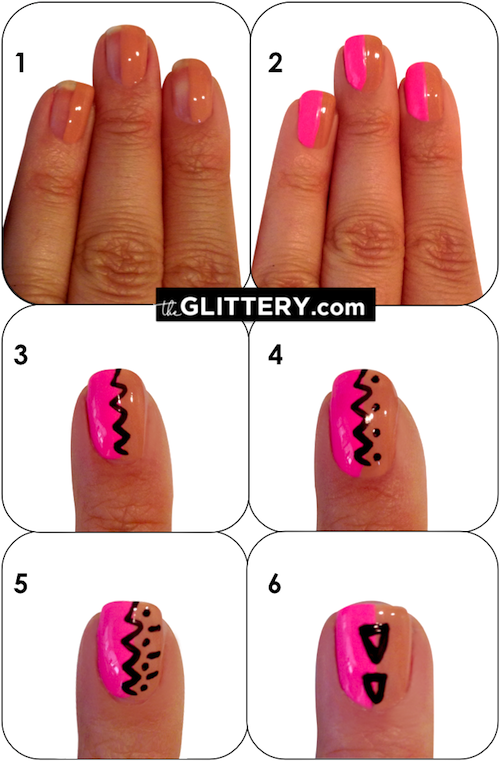
Step 1: Apply base coat (I use OPI Nail Envy), then two coats of Polish 1 on one side of your nail (I chose the right side on my left hand and my left side on my right hand). TIP: Start at the bottom of your nail and go to the top in one slow swipe of your brush. That will help you get the cleanest line.
Step 2: After Polish 1 is relatively dry (about 2-3min later), apply two coats of Polish 2 on the other side of your nail. Wait about 5 minutes and seal with your top coat. This will lock in your stripes creating a smooth/shiny surface. Seche Vite Dry Fast will be your BEST friend – I pinky swear. It’s ahh-maze-ing.
Step 3: Take your Sharpie and create a zig-zag in the middle of your pointer finger nail. It should touch both colors.
Step 4: Using the same Sharpie, dab on four dots.
Step 5: In the middle of each dot, draw a short horizontal line.
Step 6: Next, bring your middle finger and pinky to the party. Using the Sharpie, create two upside down triangles, one below the other.
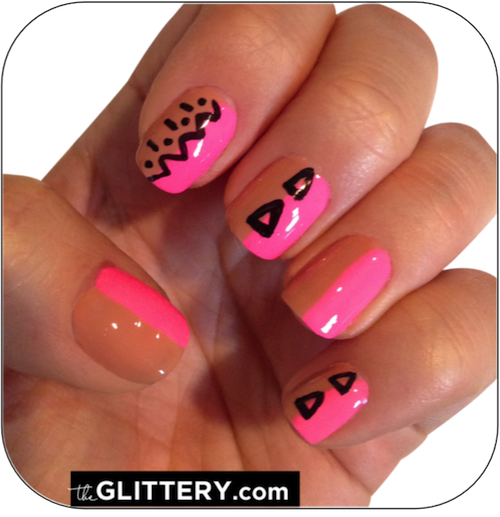
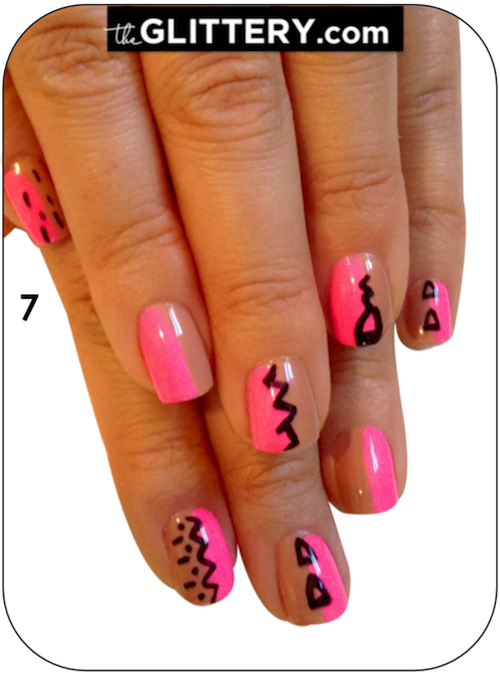
Step 7: Wait 2-3 min and seal your sassy-Sharpiefied nails with your top coat. Lastly, FREAK OUT at how fab your nails look!
Feel free to play around with your Sharpie, creating as many designs as you want. You’ll see I opted to do a few different designs on my other hand. I wasn’t kidding when I said I liked to mix and match!
Want more nails? Visit theGLITTERY.com and follow @theglitteryblog on Instagram!
When will nail art go out of fashion? It doesnt seem to come soon enough ! Never looks elegant, ever !
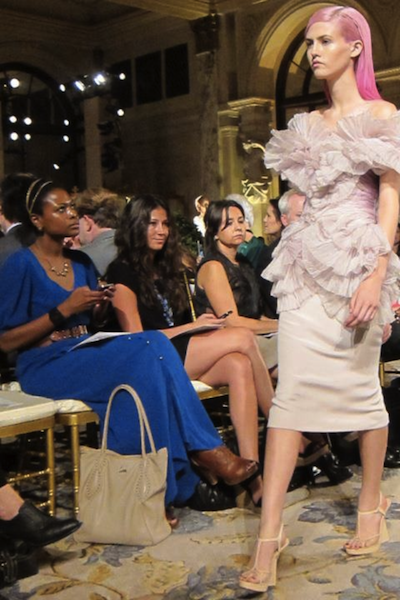
Hi Archana! I’m nt sure when Nail Art will go out of Fashion… personally, I hope never:) Like most of Fashion, Nail Art is not always intended to be taken literally…it’s often times intended to be inspirational and aspirational. That super cooky whacky far out Nail Art spotted on the runway….at some point, over the course of years, works its way into a strip mall nail salon in middle America where a Stay At Home mom — who never really makes time for herself — decides to all of a sudden take a walk on the wild side with, gasp, an accent nail. Ahh, looky there, Nail Art has somehow inspired. So you see, it’s not all meant to be taken so literal. But I will agree, it’s not for everyone. To each his own..and so adds to the spice of life. Nudes, brights, metallics..oh my! Thanks for the comment 🙂